
There are many uses for setting up WordPress on your local computer. In order to test the website before going online, many people need to build a WordPress website locally, test the settings of various parts, install and test various plug-ins, etc. Some are for developing and testing WordPress themes. In short, people have various purposes.
So how to install WordPress locally on a Widows computer? Here is a detailed tutorial. This method is the simplest and most useful of all the installation programs I have tested.
Without further ado, let’s get started.
This article is divided into two steps:
- Part One: Download the Local software separately and install it on your local machine.
- Part 2: Download your entire website backup data from the website on your server and then import it to your local WordPress website.
There are many pictures below, as detailed as possible, but the actual setup process is actually very simple.
Part 1: Download and install Local software
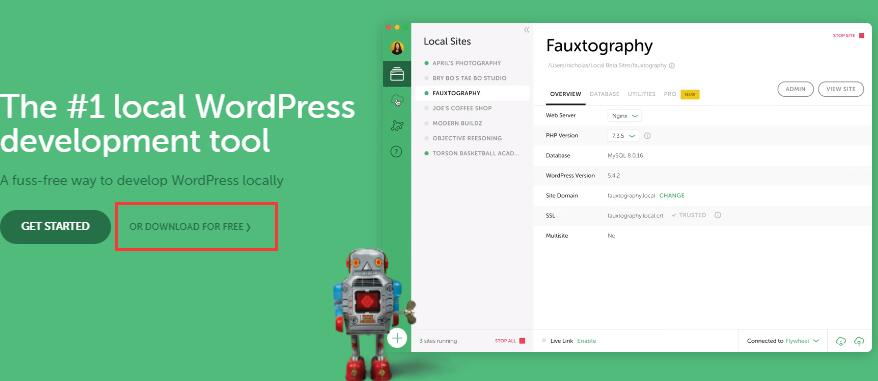
1. Go to https://localwp.com/ and click the link “OR DOWNLOAD FOR FREE” in the red box.
2. Select “Windows” in the pop-up window.

3. Then enter your name, phone number, email address, etc. in the pop-up window, just fill in whatever you want. Click the green button “GET IT NOW!” to automatically start downloading the software. This software is several hundred MB in size and will take a while to download.

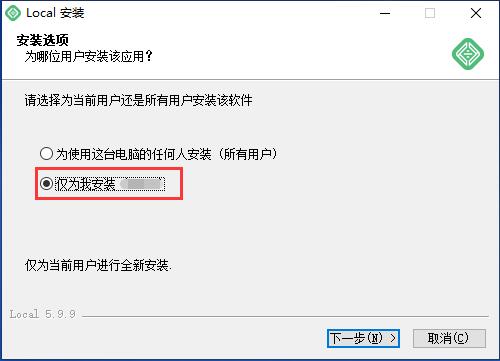
4. Click Install after the download is complete. Then select “Install only for me”. Then click “Next”. Next, just install it by default. If there are any security reminders during the installation process, click Agree. During the installation process, you may be prompted to install software such as “Microsoft Visual C++”. Please agree to the installation. The installation process may take a few minutes, please wait patiently.
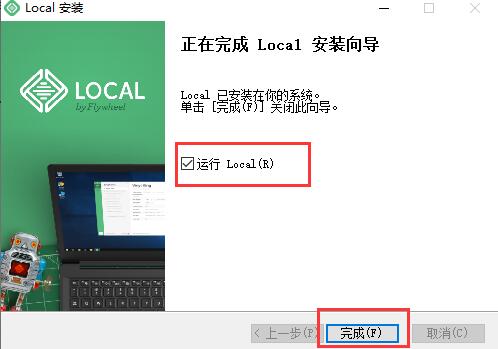
5. Click Run after the installation is complete.
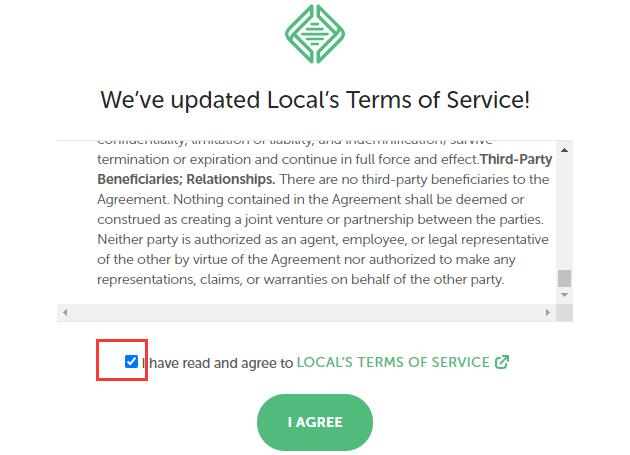
6. Then check the “√” sign in the pop-up window. Click the green “I AGREE” button.
7. Click “No” in the next pop-up window, and then click the “×” in the upper right corner to close the interface.

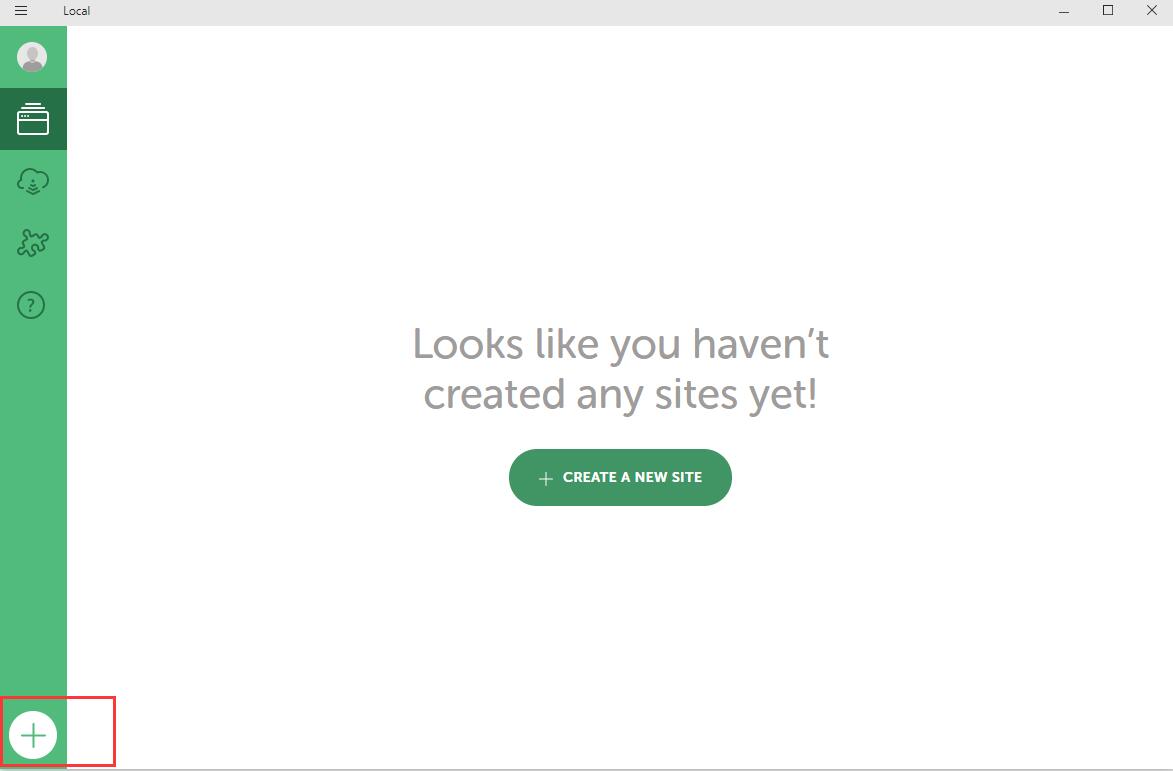
8. Click the plus sign in the lower left corner to add a website.
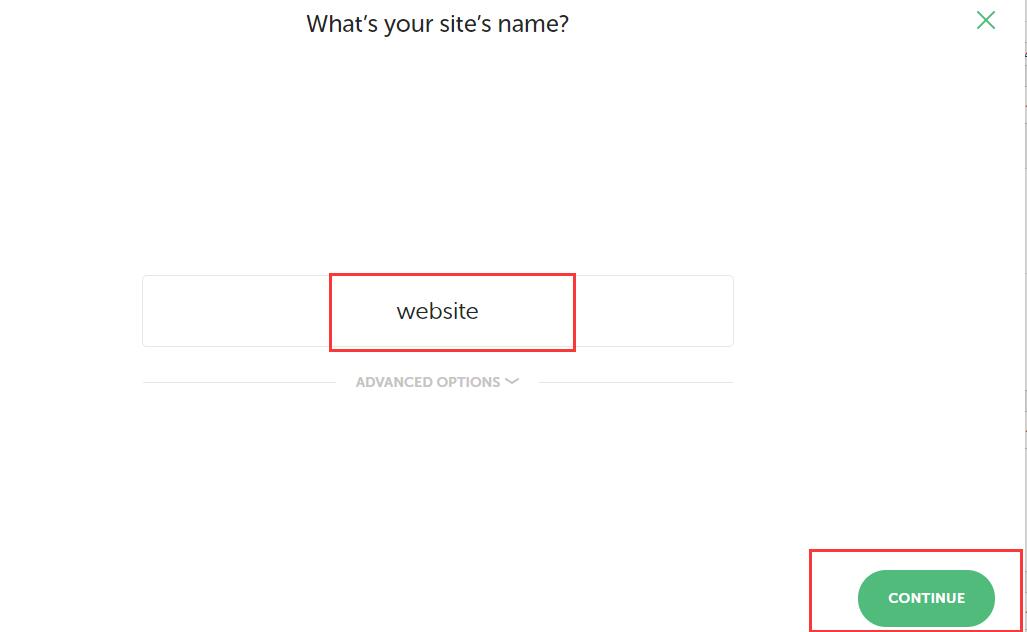
9. Fill in the website name in the blank box. Then click “CONTINUE”.
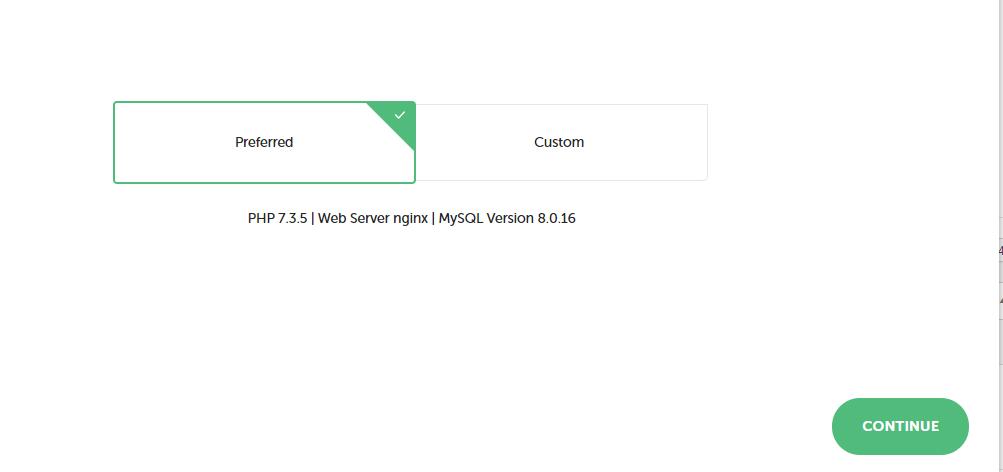
10. Continue to select “CONTINUE” in the default state
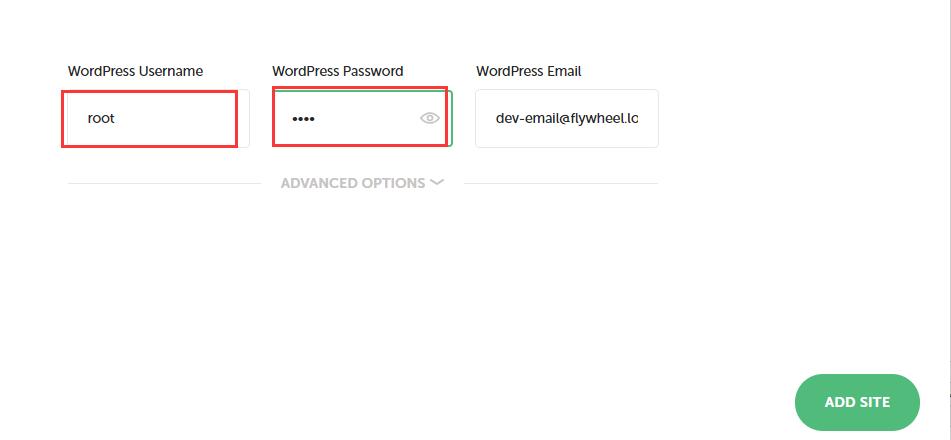
11. Enter the WordPress Username and WordPress Password login password. Click “ADD SITE”. It will automatically start installing the WordPress program and create a WordPress website. This process takes several minutes.
12. The installation is complete. Click “OPEN SITE” to click to view your WordPress site. Click “ADMIN” to open the background login page.

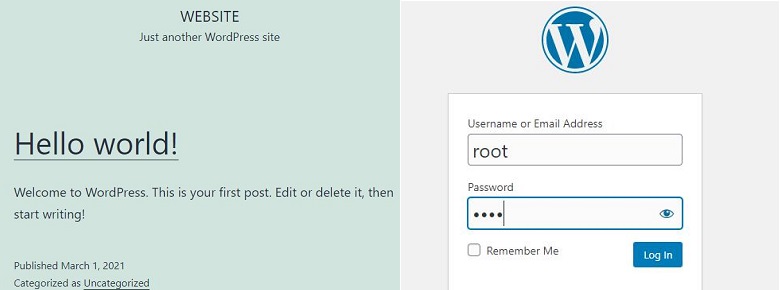
13. Below is the website interface and background login interface after opening. Enter the account password set above to log in.
Remarks :
After the installation is complete, errors such as “502 Bad Gateway” may occur when the website cannot be opened. If this happens, please follow the steps below to resolve it.
- Click the “three” button in the upper left corner of the software, select Preference>ADVANCED, then select Local Host in the Router Mode column, and then select “Apply” in the lower right corner.
- In the Web Server column on the interface in step 12, select the green inverted triangle on the right side of nginx, select “Apache”, and then you can open the website and backend.
Part 2: Download the backup file from your already online website, and then upload it to the local WordPress Local software.
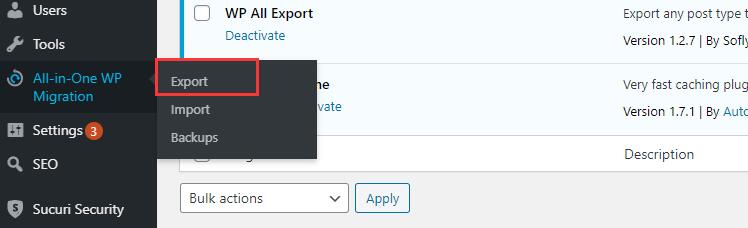
- Download the “All-in-One WP Migration” plug-in from the dashboard of the already online website. Anyone who has worked with WordPress knows how to download and enable plug-ins, so I won’t go into details here. Then hover over “All-in-One WP Migration” on the left and click “Export” that pops up.
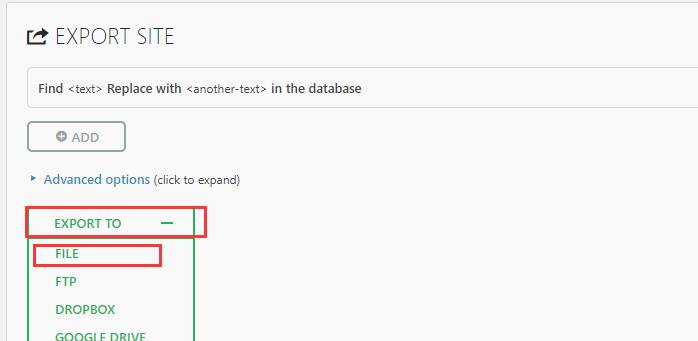
2. Then click “EXPORT TO” in the opened interface and select “FILE” in the drop-down option.
3. Wait for a while. The file extraction is complete and you can download it. Click “Downlaod www.yourwebsite.com” to automatically start downloading the file. Then click “CLOSE ” to close it.
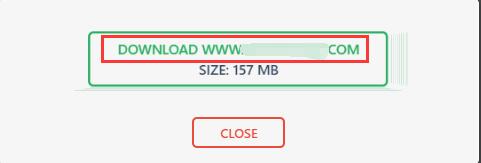
4. OK, the download of the website backup file is completed. This is a file with the suffix wpress, not a zip-type compressed file. The advantage of this kind of file is that it can be downloaded and uploaded very quickly.
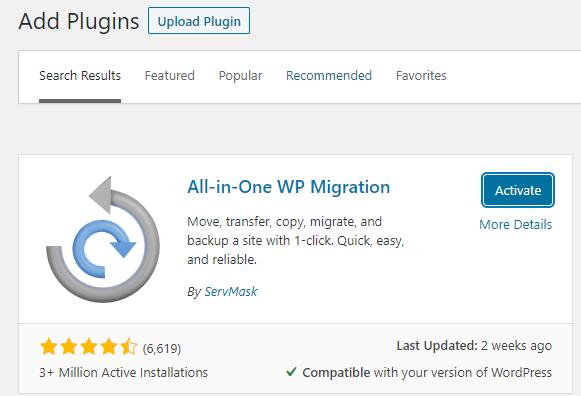
Next, log in to your locally built website backend (i.e. the WordPress website created in the first part). Go to the backend and download the “All-in-One WP Migration” plugin. The download process is the same as the first part. Then “Activate” to enable the plugin.
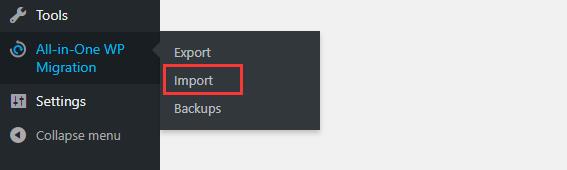
5. Then hover over “All-in-One WP Migration” on the left and click “Import” that pops up.
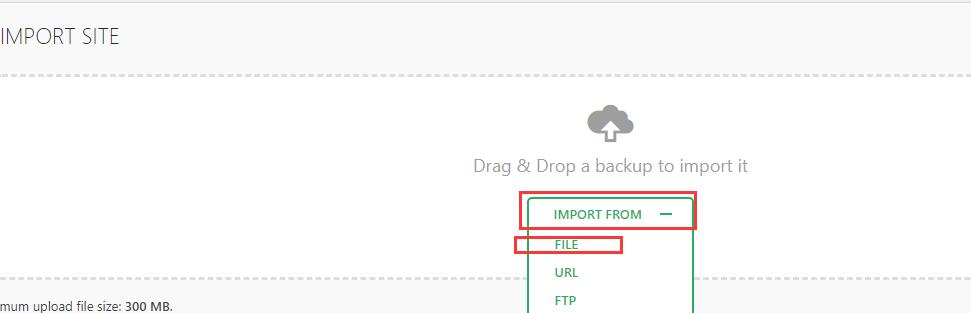
6. Then click “IMPORT FROM” in the opened interface and select “FILE” in the drop-down option.
7. Then select the backed up file and click to upload.
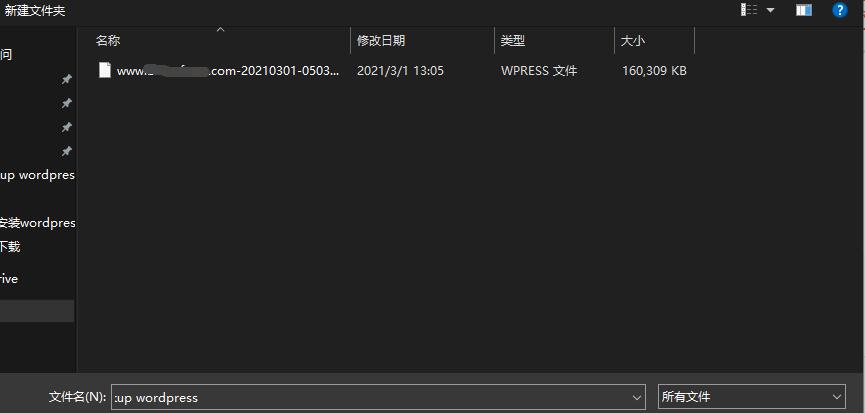
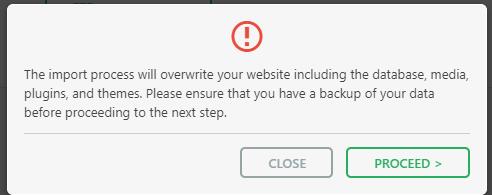
8. Click “PROCEED” in the pop-up interface. Wait for a while and your backup website will be uploaded to your local Windows computer.
9. Because you uploaded your entire backup website, when you log in again, enter the original account and password of the backup website you uploaded in the background Dashboard login password. It’s the same way you use your website online.
Summarize
The above is how to build a WordPress website locally on Windows. It is the simplest method I have ever used to install WordPress locally. If you have any questions or queries, please leave them in the comment section.