
Nowadays, AI face-changing (smart face-changing) is relatively cool and popular. The current mainstream ones include FakeApp, Faceswap and Deepfacelab.
- Fakeapp – This smart face-changing software is an open source software on Reddit. The interface is relatively friendly, simple and easy to use, and supports GPU-accelerated computing using NVIDIA graphics cards.
- Faceswap – open source software on Github community. The installation is also relatively simple, supporting NVIDIA GPU graphics cards and AMD GPU graphics cards, and also supports processing via CPU (particularly slow speed).
- Deepfacelab – open source software on the Github community. Supports AMD and Intel HD Graphics Cards.
The special thing here is the brand of the graphics card because the graphics card is very important for processing images. If you use the right graphics card, the speed can be increased dozens of times. Since the workload of AI face-changing graphics processing is particularly large, it is very time-consuming. At this time processing speed is particularly important.
Faceswap running hardware requirements
- An Nvidia graphics card with a computing power of 3.0 or above (refer to Nvidia computing power ), preferably 1060 6G or above
- The CPU requirements are not high, AMD or Intel will do. It is best to have at least 8G of memory.
Here we introduce the download and installation process of the following face-changing software Faceswap, and also attach a usage tutorial:
Faceswap download and installation tutorial
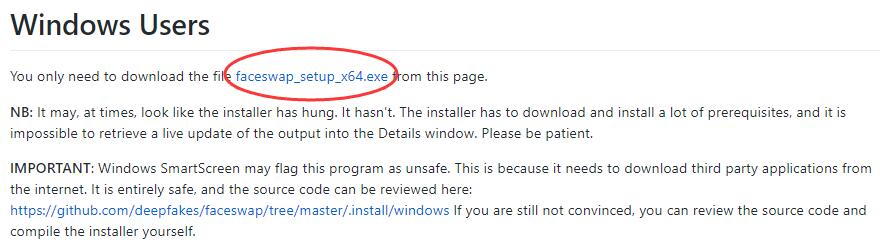
1. Go to https://github.com/deepfakes/faceswap/releases/tag/v2.0.0 and click on the red box to download the .exe installation program.
2. After the download is complete, click the .exe file you just downloaded below to install.
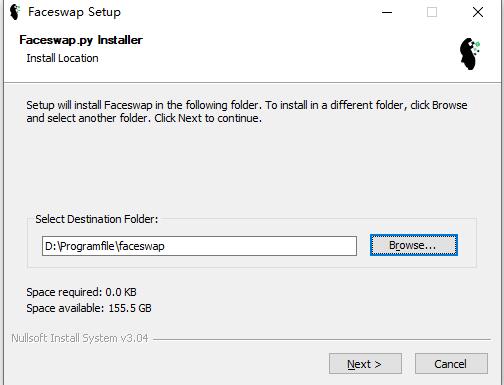
3. Next, specify the installation path. You can default to the C drive or click “Browse” to specify another hard drive for installation.
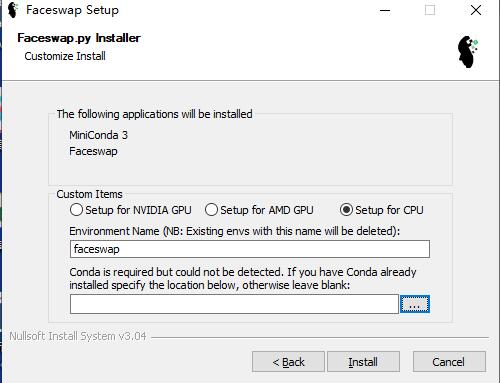
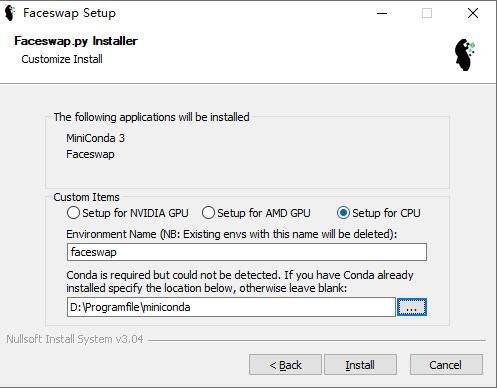
4. Then add it or prompt to select the processor under Custom Items. On a Windows 10 computer, press “Control+Alt+Delete” at the same time, then select “Task Manager”, then go to the “Performance” column, and click on the GPU at the bottom to view your computer’s processor type. Recommended for users with NVIDIA GPU and AMD GPU graphics cards. These two handle AI graphics very quickly. You can also use a CPU, but the processing speed is extremely slow and wastes electricity.
The following prompts “Conda is required but could not be detected.” Let’s stop here for now. Now go download Conda.
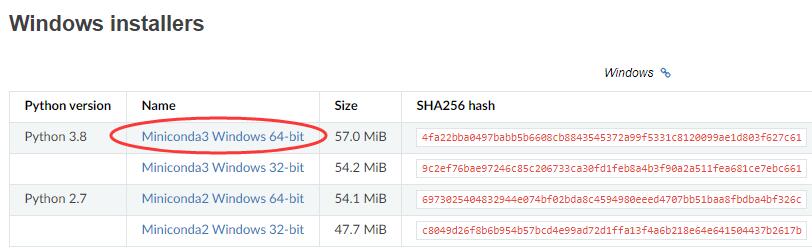
5. Go to the Conda download interface: https://docs.conda.io/en/latest/miniconda.html and select to download Miniconda3 Windows 64-bit.
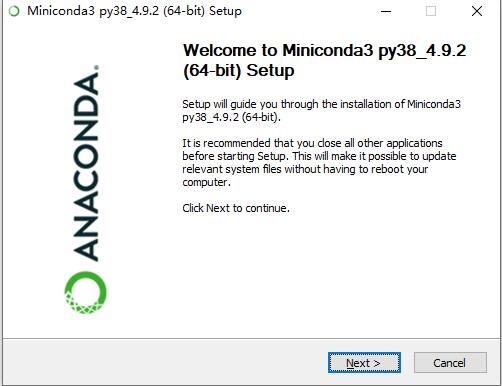
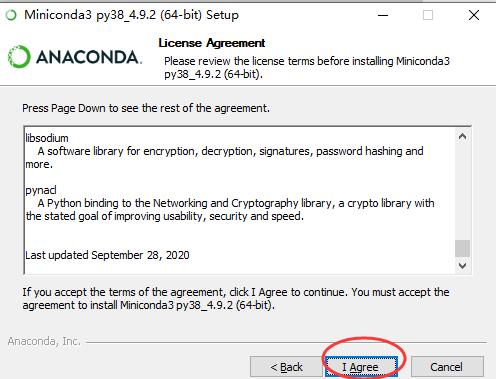
6. After downloading, click the downloaded file to start the installation. Click “Next”, then click “I Agree”.
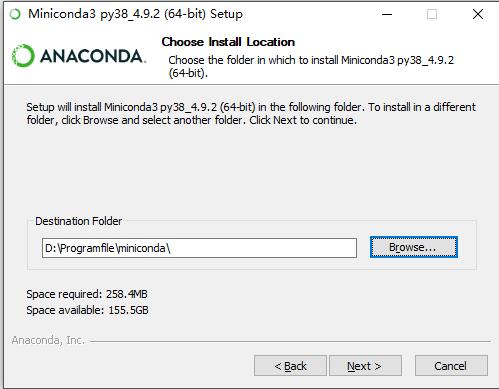
7. Still install to the D drive. Note that it cannot be installed directly in the Programfile. You need to create a new folder miniconda in the Programfile, and then specify the file path here.
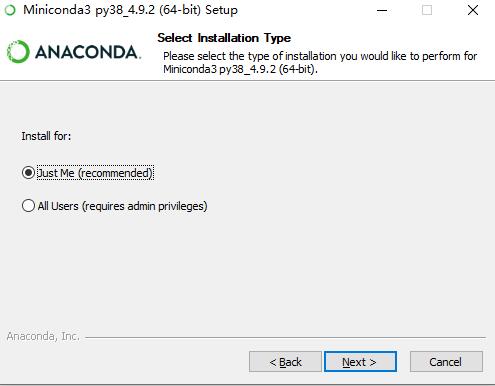
Select “Just Me”.
8. Then after Miniconda3 is installed, we point the bottom box to the Miniconda installation folder we just installed.
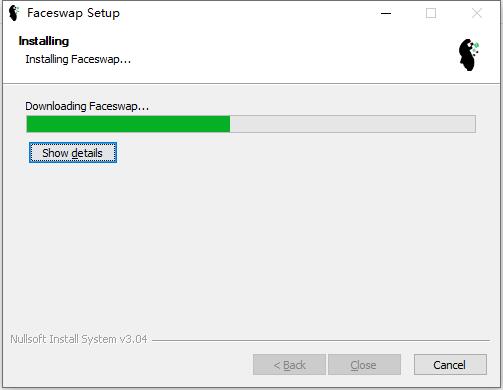
9. I started installing Faceswap. Note that several gigabytes of files will be downloaded and executed automatically during the subsequent installation process. It is time consuming, so please wait patiently. Keep the VPN connected to the Internet during this process, otherwise it will prompt that the installation fails.
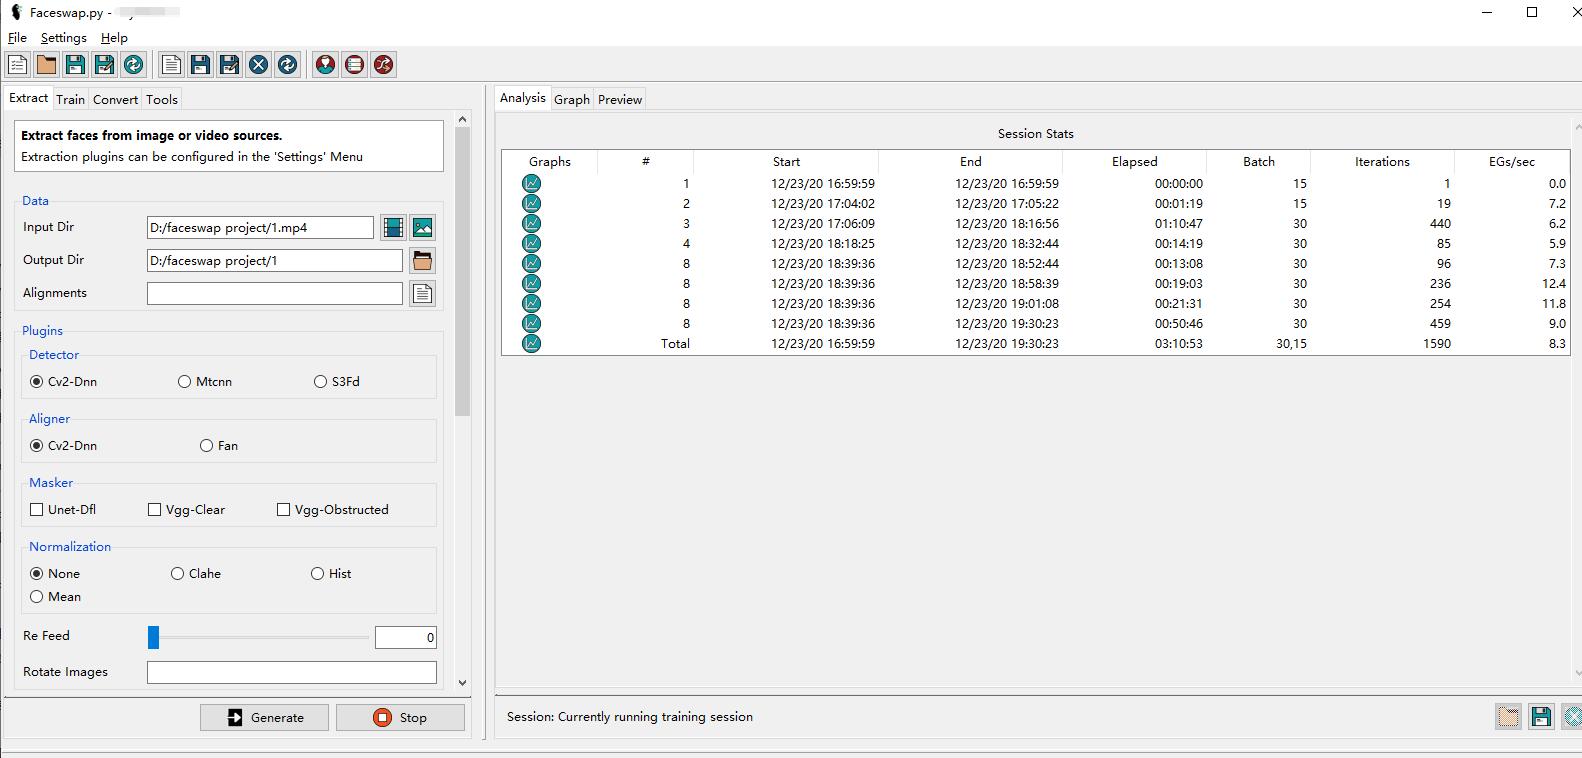
10. The interface after downloading is as follows.
Faceswap usage tutorial
There is a video on how to use Faceswap, which is relatively simple. You can learn to use it yourself according to the video tutorial.
Special note : I encountered some problems during the operation. According to the tutorial Train process, the program will prompt the process to terminate. It’s because the Alignment.fsa file is missing . The solution is to add it to the alignment file in the Alignments column. This file will generate a file named alignment.fsa during the first step of video Exact extraction.